Your Kitchenaid built in refrigerator removal images are available. Kitchenaid built in refrigerator removal are a topic that is being searched for and liked by netizens now. You can Download the Kitchenaid built in refrigerator removal files here. Download all royalty-free vectors.
If you’re looking for kitchenaid built in refrigerator removal images information connected with to the kitchenaid built in refrigerator removal keyword, you have visit the right site. Our website frequently gives you hints for seeing the maximum quality video and picture content, please kindly search and locate more enlightening video articles and graphics that match your interests.
Kitchenaid Built In Refrigerator Removal. Do not remove the foam gasket on top of the compressor cover unless removal is necessary to fit the unit under a soffit. Common KitchenAid Refrigerator Problems - YouTube. Below is a video that shows how to remove the entire control panel assembly which you dont need to do but at time stamp 023 it shows them removing the light cover so you can see what Im talking about. For your convenience the refrigerator doors have bottom hinges with door closers.
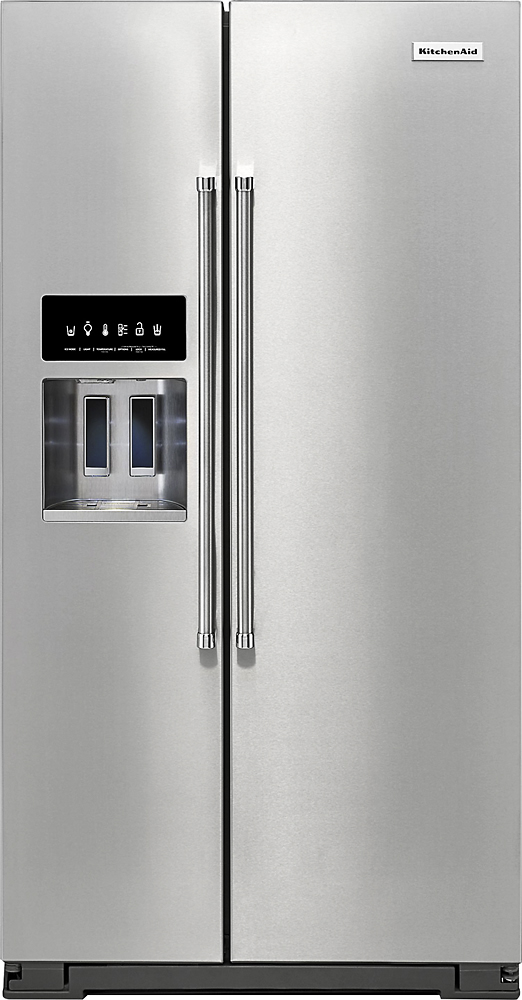
 Kbsn602ess Kitchenaid 25 5 Cu Ft 42 Width Built In Side By Side Refrigerator With Extendfresh Plus Temperature Management System And Satinglide Crispers Printshield Stainless Steel From us-appliance.com
Place both hands on the sides of the grille. Remove all removable parts. This video provides step-by-step repair instructions for replacing the ice maker on a KitchenAid 5 Door Refrigerator Model KRMF706ESS01. The fridge should now be free of its custom casings. The most common re. If installing under a solid soffit after installation raise the leveling legs so that the gasket is pressed snugly against the soffit.
The fridge should now be free of its custom casings.
This should allow you to shimmy the fridge forward to locate the electrical outlet and unplug the appliance. Move the refrigerator straight back and evenly into the To get the most efficient use from your new built-in refrigerator. Write Clearly and Concisely Grammarly. Remove all removable parts. Our Refrigerators are designed with a bold blend of design and functionality to help you keep all your ingredients fresh and easy to find while making a statement in any home cooks kitchen. Do this by opening both doors placing your hands along the ends of the grille and pushing in on the top of the grille while pulling up on the bottom.
 Source: trailappliances.com
The fridge should now be free of its custom casings. So that the closers feature will operate properly the doors must be removed only when open to a 90 angle to the front of the cabinet. Removing the old built-in refrigerator is best because you have a clear picture of the true cabinet opening electrical location and water line location. Replace all removable parts. Use a vacuum cleaner with a soft brush to clean the grille the open areas behind the grille and front surface area to be cleaned.
 Source: us-appliance.com
Remove the base grille at the bottom of the refrigerator. Remove the base grille at the bottom of the refrigerator. See all our fridge. Our Refrigerators are designed with a bold blend of design and functionality to help you keep all your ingredients fresh and easy to find while making a statement in any home cooks kitchen. Do not remove the film on the outside.
 Source: pinterest.com
Browse All KitchenAid Refrigerator Models To Find Whats Right For Your Kitchen. Do not remove the foam gasket on top of the compressor cover unless removal is necessary to fit the unit under a soffit. The fridge should now be free of its custom casings. To remove the decorative door panels you need to open the freezer door and remove the freezer door handle it has 6 screws. If it still resists sliding out from its nook look along the lower and middle cabinet areas for brackets and restricting bands shims or screws.
 Source: kitchenaid.com
This should allow you to shimmy the fridge forward to locate the electrical outlet and unplug the appliance. Open the freezer and fresh food compartment doors as far as they will go. Refrigerator Repair - Ice Build up in the Freezer - WhirlpoolMaytagKitchenAid. Browse All KitchenAid Refrigerator Models To Find Whats Right For Your Kitchen. Hand wash rinse and dry.
 Source: youtube.com
Move the refrigerator straight back and evenly into the To get the most efficient use from your new built-in refrigerator. Common KitchenAid Refrigerator Problems - YouTube. CLICK HERE for video. So that the closers feature will operate properly the doors must be removed only when open to a 90 angle to the front of the cabinet. See all our fridge.
 Source: youtube.com
Move the refrigerator straight back and evenly into the To get the most efficient use from your new built-in refrigerator. To clean the grille or drip pan you must first remove the grille. Removing the old built-in refrigerator is best because you have a clear picture of the true cabinet opening electrical location and water line location. Remove the screws then the handle and then you can side the decorative panels off the door. Do this by opening both doors placing your hands along the ends of the grille and pushing in on the top of the grille while pulling up on the bottom.
 Source: rcwilley.com
Do this by opening both doors placing your hands along the ends of the grille and pushing in on the top of the grille while pulling up on the bottom. Move the refrigerator straight back and evenly into the To get the most efficient use from your new built-in refrigerator. Removing the old built-in refrigerator is best because you have a clear picture of the true cabinet opening electrical location and water line location. To remove the decorative door panels you need to open the freezer door and remove the freezer door handle it has 6 screws. Clean all interior walls and bottom of refrigerator Hand wash rinse and dry.
 Source: manueljoseph.com
If it still resists sliding out from its nook look along the lower and middle cabinet areas for brackets and restricting bands shims or screws. Our Refrigerators are designed with a bold blend of design and functionality to help you keep all your ingredients fresh and easy to find while making a statement in any home cooks kitchen. Remove all removable parts. This should allow you to shimmy the fridge forward to locate the electrical outlet and unplug the appliance. Browse All KitchenAid Refrigerator Models To Find Whats Right For Your Kitchen.
 Source: us-appliance.com
Plug in refrigerator or reconnect power. Move the refrigerator straight back and evenly into the To get the most efficient use from your new built-in refrigerator. Routinely clean under the refrigerator removing any dirt or items that may have gotten trapped under the refrigerator. Clean all interior walls and bottom of refrigerator Hand wash rinse and dry. Do not remove the film on the outside.
 Source: kitchenaid.ca
If one or both doors were not at a 90. Replace all removable parts. This should allow you to shimmy the fridge forward to locate the electrical outlet and unplug the appliance. Our Refrigerators are designed with a bold blend of design and functionality to help you keep all your ingredients fresh and easy to find while making a statement in any home cooks kitchen. Once the refrigerator is free from its housing unplug it.
Source: us-appliance.com
Clean all interior walls and bottom of refrigerator Hand wash rinse and dry. Write Clearly and Concisely Grammarly. Place both hands on the sides of the grille. If it still resists sliding out from its nook look along the lower and middle cabinet areas for brackets and restricting bands shims or screws. See all our fridge.
 Source: pinterest.com
These closers allow the doors to swing fully closed with just a gentle push. This video provides step-by-step repair instructions for replacing the ice maker on a KitchenAid 5 Door Refrigerator Model KRMF706ESS01. With a qualified person on each side of the bottom of the fridge carefully lift the fridge and slide the cardboard or plywood beneath the appliance and set it down. Hand wash rinse and dry. Open the freezer and fresh food compartment doors as far as they will go.
 Source: pinterest.com
Built in refrigerator Installation Guide Full Video - YouTube. Use a vacuum cleaner with a soft brush to clean the grille the open areas behind the grille and front surface area to be cleaned. Built-in refrigerators are extremely heavy and should be handled with caution. Slide an appliance dolly under the front feet of the refrigerator and secure straps around the fridge before moving it. Unplug refrigerator or disconnect power.
 Source: albertlee.biz
If your refrigerator has an air filter regularly replace the filter based on the indicator tab. Move the refrigerator straight back and evenly into the To get the most efficient use from your new built-in refrigerator. CLICK HERE for video. Plug in refrigerator or reconnect power. This includes all crisper drawers bins and shelves.
 Source: us-appliance.com
Do not remove the film on the outside. Routinely clean under the refrigerator removing any dirt or items that may have gotten trapped under the refrigerator. CLICK HERE for video. For your convenience the refrigerator doors have bottom hinges with door closers. Our Refrigerators are designed with a bold blend of design and functionality to help you keep all your ingredients fresh and easy to find while making a statement in any home cooks kitchen.
 Source: kelsosalesandservice.com
Hand wash rinse and dry. Remove all removable parts. With a qualified person on each side of the bottom of the fridge carefully lift the fridge and slide the cardboard or plywood beneath the appliance and set it down. For your convenience the refrigerator doors have bottom hinges with door closers. Remove the brackets that hold the surrounding frame of the built-in fridge in place.
 Source: us-appliance.com
Whether youre looking for built-in refrigerators or freestanding refrigerator models you cant go wrong with premium refrigerators from KitchenAid. With a qualified person on each side of the bottom of the fridge carefully lift the fridge and slide the cardboard or plywood beneath the appliance and set it down. Plug in refrigerator or reconnect power. Replace all removable parts. Built in refrigerator Installation Guide Full Video - YouTube.
 Source: kitchenaid.com
Removal of the gasket will cause loss in cooling efficiency. Built-in refrigerators are extremely heavy and should be handled with caution. If installing under a solid soffit after installation raise the leveling legs so that the gasket is pressed snugly against the soffit. Clean all interior walls and bottom of refrigerator Hand wash rinse and dry. Move the refrigerator straight back and evenly into the To get the most efficient use from your new built-in refrigerator.
This site is an open community for users to do sharing their favorite wallpapers on the internet, all images or pictures in this website are for personal wallpaper use only, it is stricly prohibited to use this wallpaper for commercial purposes, if you are the author and find this image is shared without your permission, please kindly raise a DMCA report to Us.
If you find this site value, please support us by sharing this posts to your favorite social media accounts like Facebook, Instagram and so on or you can also bookmark this blog page with the title kitchenaid built in refrigerator removal by using Ctrl + D for devices a laptop with a Windows operating system or Command + D for laptops with an Apple operating system. If you use a smartphone, you can also use the drawer menu of the browser you are using. Whether it’s a Windows, Mac, iOS or Android operating system, you will still be able to bookmark this website.